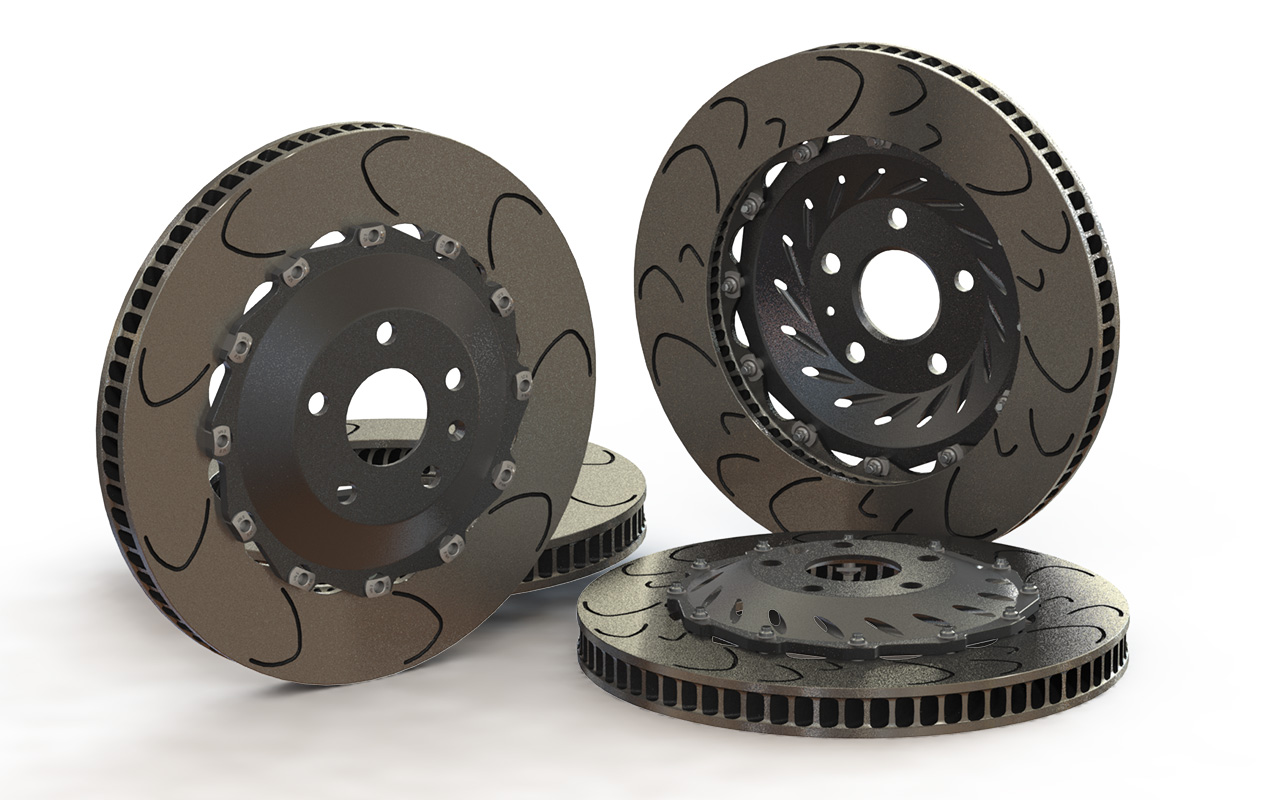
Disc measuring tips and tricks

Measuring up an existing motorsport disc can be tricky, however with the right basic tools it’s really quite straight forward.
Before you disassemble your disc it’s important you have the right tools and bench space available. You will need a bench top that is flat, a tape measure and digital vernier calipers. These are available online or at any hardware store. We use digital verniers as they give a more accurate reading, however the diameter of the disc can be measured using a tape measure as most discs are either in inches or whole millimeters.
When measuring up a used disc it’s important to be wary of existing disc wear. A disc measured at 32mm may in fact have been 34mm to start with. Be on the lookout for tell tale signs such as lips on the inner and outer edges of the disc.
Measuring a factory disc
Factory discs tend to be single piece designs making measurement straight forward. Follow these steps:
- Once the disc is removed from the vehicle start by measuring details of the hub, including the hub diameter, wheel PCD and fixing PCD. The wheel PCD refers to the stud pattern of the wheels. The fixing PCD refers to the fixing of the brake disc to the hub. Some vehicles will not have any fixing PCD so can be ignored. It is advised to photograph the factory brake setup fully assembled as well as photos of the hub and disc separately to ensure correct fitment.
- Once the disc has been removed, place it on your work bench and ensure that the disc can sit flat and true. Ensure all surfaces are clean and free from contaminants. Measure all key dimensions and make notes of any detail that may be required for manufacturing. The fixing type will usually be a counter bore or countersunk hole. Please ensure detailed measurements are given for these areas.
- Measure the overall diameter of the disc as well as the disc thickness and overall height. Flip the disc over and measure the overall height in multiple spots to ensure accuracy.
- Flange thickness, disc thickness and overall height allows us to model bells with the correct offset so it’s important that these measurements are given with 0.1mm accuracy. Please note disc wear can be a factor.
- Vane count and air gap are not critical as we will help you choose the right air gap and vane count for your application.
- If the disc has any usual feature make a note of them. The more detail that is provided the better.
Measuring a flat disc
A motorsport flat disc can have many more fine details than a factory disc so it’s important that accurate measurements are taken.
- Once the disc has been removed, place it on your work bench and ensure that the disc can sit flat and true. Ensure all surfaces are clean and free from contaminants.
- All key measurements other than OD should be measured using vernier calipers.
- Where the PCD fixing is a floating arrangement please add key dimensions of these in the notes. There can be various types of floating arrangements so it’s important that these measurements are correct. Photos of the disc to accompany the form will allow to us to contact you with any questions.
- Some flat discs have an internal or external step to the PCD fixing. These are usually somewhere between 0.25 and 2mm. Please provide photographs as well as measurement.
- Measuring the PCD of the disc is straight forward. Using your vernier calipers measure from the outer edge of one hole to the outer edge of the opposite hole. Then measure the diameter of the fixing hole. Take the first measurment and minus the second measurement. For example if the first measurement across you take is 212.4mm and your hole diameter is 6.4mm, then your PCD is 212.4-6.4 = 206.0mm
Measuring an existing bell
Measuring a bell is straight forward and uses a combination of the measurements taken above. Where it can get tricky is if the bell is a floating bell. The main tip here is to measure the PCD of the disc that the bell came off (see point 5 in measuring a flat disc). Details of your bobbin will also be required. Using the factory disc tips listed above as a guide, and providing photos will ensure bell manufacture is spot on first go.
